Applies to: All tiers · Last reviewed: 2026-06-24
What this is
How to invite your team to CanShip and what each role can do. User management lives at Settings > Users.
Invite a user
- Go to Settings > Users.
- Click Invite User.
- Enter the person's Email.
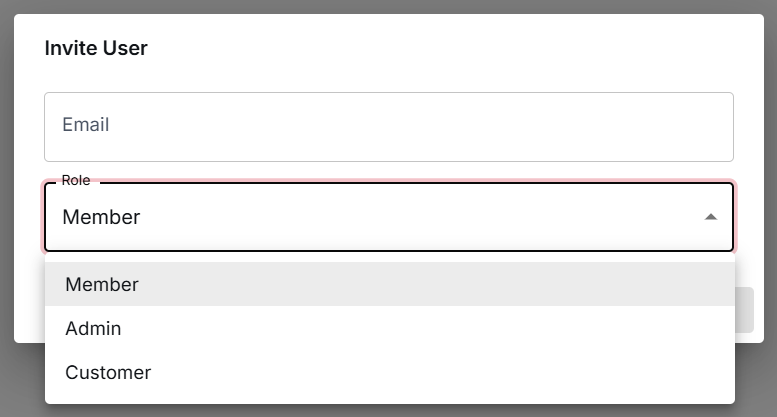
- Choose a Role (see below).
- Click Send Invite. They receive an email to set up their sign-in.
The roles
- Staff: the day-to-day role, and the one a new invite starts on. Staff can use everything in the menu except Users and Billing: orders, picking, packing, shipping, inventory, products, reports, integrations, and the settings for clients, carriers, containers, warehouses, locations and your company. Use this for most of your team.
- Admin: everything Staff can do, plus Users (inviting and managing people) and Billing. If a Staff user opens either page, CanShip says it is for company admins.
- Customer: a client-portal login for one or more of your clients. A Customer signs in to see their own orders and inventory, not your whole operation.
Super Admin is a separate, elevated grant rather than an invite option. It shows as a badge on a user's row in the Users list, with a Revoke Super action to remove it.
Managing existing users
The Settings > Users list shows each user's email, role, assigned clients, and status. Each row has Edit (change role or client assignments) and Deactivate (remove access without deleting the record).
Was this article helpful?
That’s Great!
Thank you for your feedback
Sorry! We couldn't be helpful
Thank you for your feedback
Feedback sent
We appreciate your effort and will try to fix the article